Showing posts with label #crafts. Show all posts

September 19, 2014

Your Friday Quickie * I'm So Sari

I made this one for my bestie in Des Moines.  Look how pretty it looks on her bed as her dog Rex photo bombs the pic.
Whew.  It's Friday and I'm ready for my Whole (craft)Cocktail!  But, I'm going to have to wait a few hours.  The Hubbs and I are on our way to Colorado to see his sister, her Hubbs and son, some other friends of ours and to go to The Rendezvous Music Festival and see my current favorite musician, Patty Griffin (along with Jackopierce and Jason Isbell who are in my top 10 of all time, for sure).  We're going to VHH (virtual happy hour) with The Smiths (that's the virtual part) and The Hubbs' fam and after this week, I'm ready!  

Here's another look at it.
The Red Dog had surgery on his tail for a second time yesterday (say a little prayer or think a kind thought or whatever you personally do in this case, for him) and he'll be under the care of the vet this weekend but it was a rough night with him last night.  It was a busy week with the day job.  Crazy busy.  And the bonus daughters are always busy, so that's pretty standard.  I'm taking Monday off from the day gig and I can't wait to have three fun filled days.


This one was for Jody my crafter friend in Atlanta and her Hubbs Jake.  I have my own room at their house.  Anyone who keeps a room so I can visit, deserves a blankie.
But I did squeeze in a little sewing time last evening.  You know how I've gotten on this "I can make that myself" kick?  Well, about two years ago, I bought a blanket at a favorite store of mine in Atlanta called Authentique.  It's made from a vintage Indian cotton sari and it's so worn and colorful and soft and comfy and totally napalicious (yup, that means it's great to take a nap under) that recently I decided I could make some for my friends to nap under like I do under mine.  

This one was for my parents.  Not sure which one of them naps under it most often. 
Except once I looked at mine closely, I realized that it was hand stitched.  And would take me approximately forever to make.  But I did have a new sewing machine that has roughly one bazillion stitch pattern options on it.  <yet another light bulb moment>  So, I ordered a bunch of vintage cotton saris online (Ebay and Etsy had a ton) and started stitching them up for friends and family with my machine.  

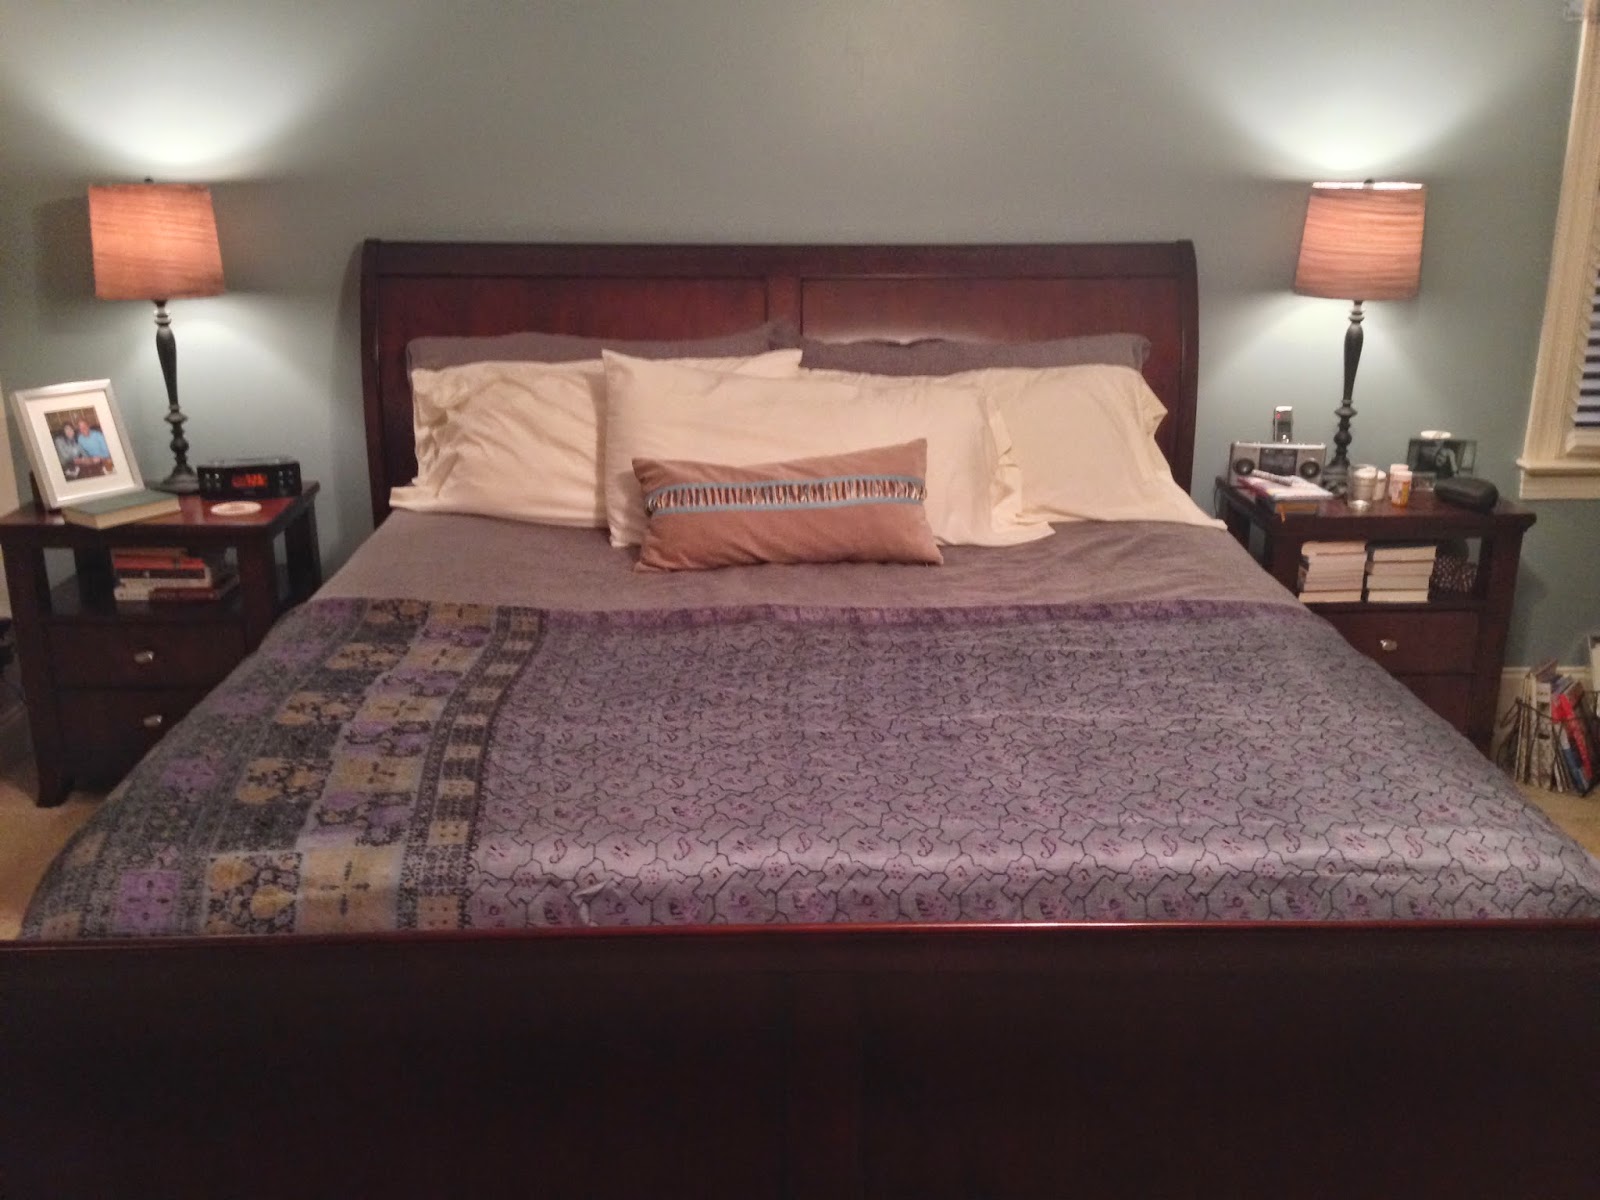
Here's another view of it on the bed.  BTW - Take a look at that dust ruffle.  My mom MADE that!  Clearly this is from where I get my talent. ;0) 
They're totally easy.  Like way easy.  Even if you don't have a sewing machine.  You just fold the sari material in half, turn it inside out, stitch down one of the long sides, starting at the folded edge, until you reach the bottom.  Then stitch the other long side.  I then stitch the folded "edge", so it seems "finished".  Then you turn it right side out and stitch what I call the bottom.  I usually use a fancier stitch at the bottom, since it will be visible (none of the stitching will be because it will all be on the inside.  And. . . Voila.  You have a great napping blanket.

This is the one I made last night for The Hubbs' sister.  I draped it on our bed to see how it would look. Shhhh.  She won't get it until tonight but she's at work, so she won't have read the blog yet. I hope.  
You could do all the stitching by hand if you're one of those folks with . . . . what do they call it. . . . oh yeah!  Time on your hands.  And with long hand stitches like my original blanket, they would be beautiful.  But, my friends know me better than that.  So machine stitching is what they got.  

Just make sure you get the 100% cotton saris (I made that mistake the first time I ordered some and got poly blend.  Not so comfy).  And if you do make some, share a picture with us in the comments!!

Another view of the newest creation.  The picture doesn't do it justice.  It's a very pretty silvery green with touches of lilac, black and yellow mixed in.  
P.S. Don't forget to go vote for your favorite vintage button ring from yesterday's post.  You might just win it! And you have until Sunday afternoon to vote.  And take a nap this weekend.  Under a comfy cotton blankie.  For me.  Since there'll be no napping in my world. You're welcome.  
post signature

September 18, 2014

Ring a Ding Ding - My First Giveaway Contest!


Many, many moons ago (aka 2009), I was out of work and trying to keep things afloat.  I started a proofreading business.  And that helped.  But I've always been nuts over crafting and jewelry.  Especially jewelry.  

In college, I started out as a journalism major, but quickly changed to an art & design major, specializing in metal crafting (i.e. jewelry making).  I went to classes by morning and worked as an apprentice jeweler at the local family owned jewelry store by afternoon.  Until my parents caught me, that is.  "Wendy, you've always HATED art class. Why are you majoring in it?  It's cute, but we're not going to pay for that!  You should go get a business degree."  <I'll give you three guesses what my degree is in>


Even after leaving the jewelry world, it never really left me.  I dreamed of being involved in it somehow and puttered around with vintage costume pieces, taking them apart and putting them back together in new fun ways.  

Fast forward to 2009.  I'm downsized out of work and trying to figure out how to keep things afloat.  And I run across a box of old costume stuff and a jar of buttons when unpacking from a move.  I remembered an article in a magazine (Real Simple, I think) from ages before that showed how to make rings out of old, vintage buttons.  Ta da! <light bulb moment> 


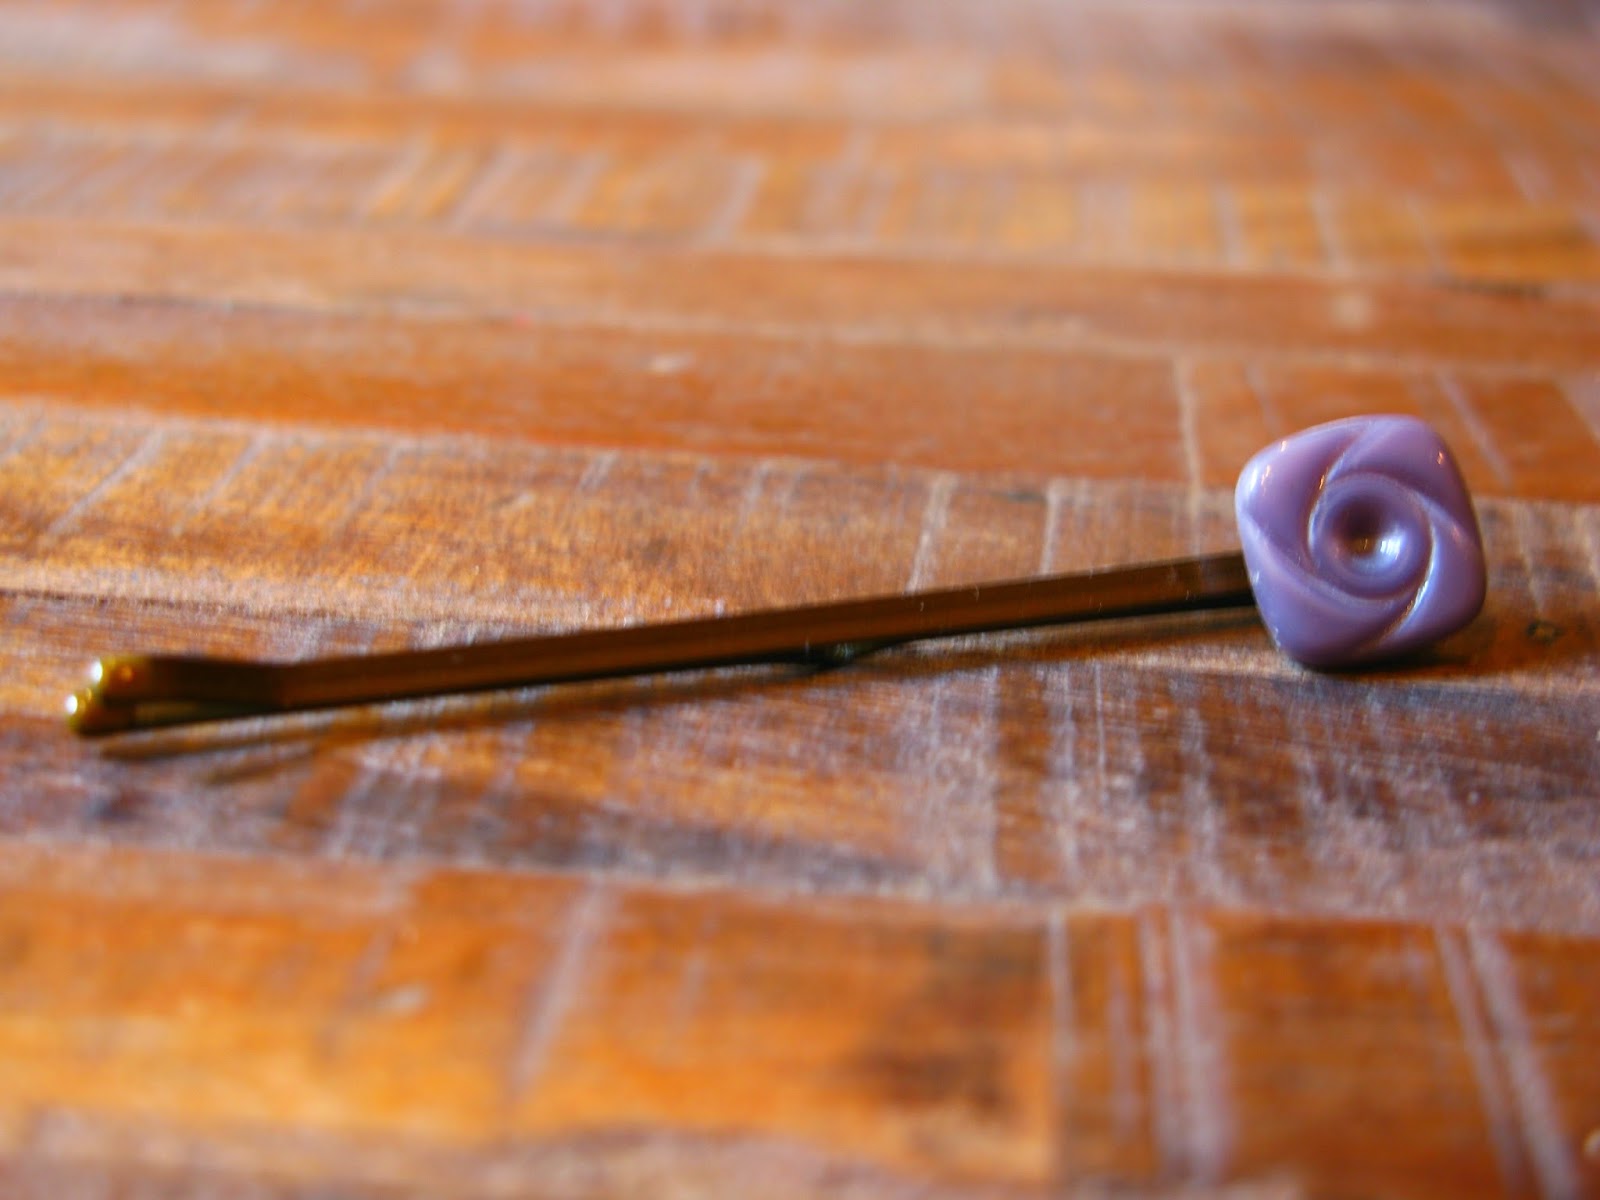
With the help of some great friends, the Denyers, (who had an SUV to take me to go pick up a used jewelers bench - I'll never forget the trip to Winder, GA.  We even saw Spiderman on that trip) and a basement in which they let me set up said bench, I was off and running with ElevenEleven Designs.  I started searching everywhere for vintage buttons and turned them into rings, cuff links, earrings and even bobby pins.  And I sold them.  Lots of them.  And that's how I paid my bills (along with dog sitting for the Denyers when they traveled) until I found a 'real' job several months later.

I still putter around with them when I have time, although the bench has long since been sold.  So, today I thought I would share with you how easy they are to make.  They make great gifts and it's easy enough that your kids could do it.  


You'll need:

  • Vintage buttons (preferably with flat backs, but you can snap or grind off thread loops with a Dremel tool) 
  • Adjustable Ring Bases (can be found here)
  • or Earring bases (can be found here)
  • Bobby Pin Bases (can be found here)
  • E6000 Glue (click the link to find it but you can also find it at most any craft store)
  • toothpicks - regular old wooden kitchen toothpicks work great
  • Some sort of hard, flat surface on which to dry things - preferably one that can get a little glue on it and it won't hurt it, but it's not soft like a paper towel.


Take you flat-backed, vintage button and one of the bases and set them up on a surface that's ok to get a little glue on it (that's why I had the jewelers bench, but you could use a piece of cardboard on your kitchen table and it would work fine).  Open the tube of E6000 (this stuff is off the charts amazing for gluing stuff.  It's not waterproof, but it works really well) and use your toothpick to pull out a gob of the glue.  Put some on the back of the button and some on the surface of the ring/earring/bobby pin base.  Adhere the button the base, sit it face down on your hard surface (preferably somewhere that it won't be disturbed) and let it dry for 24 hours.  You're done.  See, I told you it was easy.


If you're giving these away as gifts, be sure to let the recipient know not to get the item wet - if it's a ring they should take it off when they wash their hands.  Some of the best vintage buttons came from garage sales or flea markets, so be on the lookout.  I'm told there's even a vintage button lady at the monthly antiques market in Atlanta, but I never was able to find her.

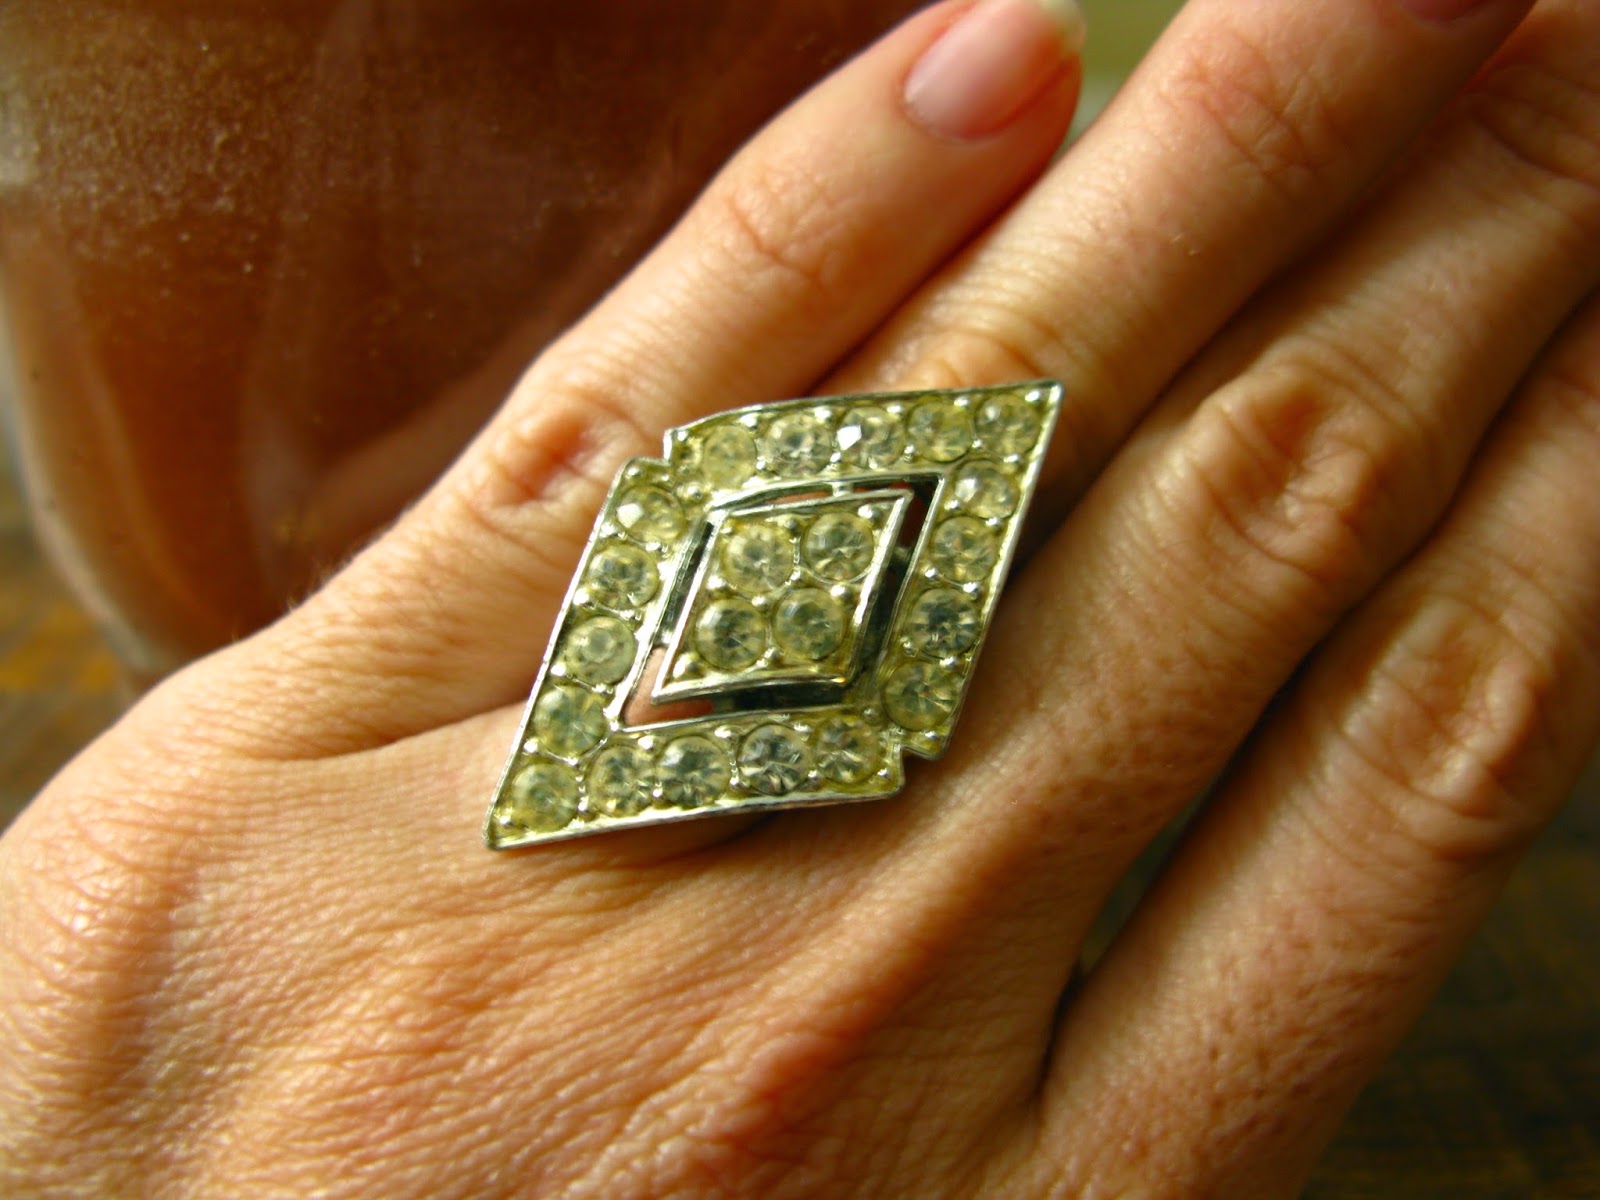
I mentioned that today is my first ever giveaway. It's like Christmas/Chanukah/Kwanzaa in September!  Just leave a comment below by Sunday at 2p EST and tell me which of the three rings (shown under this paragraph) you'd like.  I'll put all of the entries in a hat and have one of my bonus daughters  draw a name out of a hat on Sunday evening.  Then I'll announce who won in Monday's Monday Mania Blog Post.  


A contest AND now you have yet another holiday gift giving idea.  Or if you're broke like I was, an income stream.  You're welcome.  


post signature